Is it time to replace your vent covers? Whether you have decided on a practical or aesthetic upgrade from your current vent covers, there are steps to take to ensure proper installation without hiring a handyman or heating and cooling professional. Replacing vent covers does not happen often due to their durability, so placing them correctly the first time is essential.
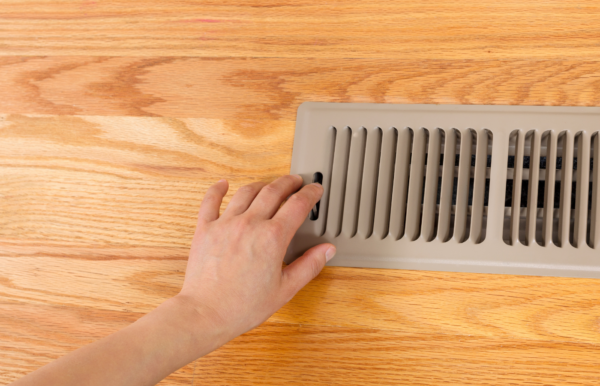
Measure the vent by removing the vent cover
Wearing gloves is recommended as edges can be sharp. Remove the existing vent by unscrewing it and gently wiggling the edges to remove the cover. You might need to run a straightedged razor between the cover and the wall in order to not pull paint from the wall. If the screws have paint over them, use an awl to dig out the paint and clear out the screw head.
Once you’ve successfully removed the vent cover, measure the wall, ceiling or floor opening and the cover itself.
Choose a Vent Cover
Avoid designs that do not allow the air to move easily. When vents are obstructed in any way, it decreases your system’s efficiency, increasing energy costs and the likelihood of repairs. When researching your options, be sure to check out all specs to minimize strain on your system and maximize your comfort and energy efficiency.
Common Types of Vent Covers
- Simple vent grill: This is the most common type of vent cover. These covers usually have a basic design with no added features.
- Adjustable vent covers: This vent cover is similar to a vent grill; however, it will allow you to adjust the direction of air and increase or decrease the amount of air flowing through the vent.
- Decorative vent covers: This type of vent cover is the most attractive variety. Many people choose this if they are creating a cohesive design within a space. Decorative vent covers come in an assortment of colors and shaped venting holes to match your home’s trim, furniture, and decor.
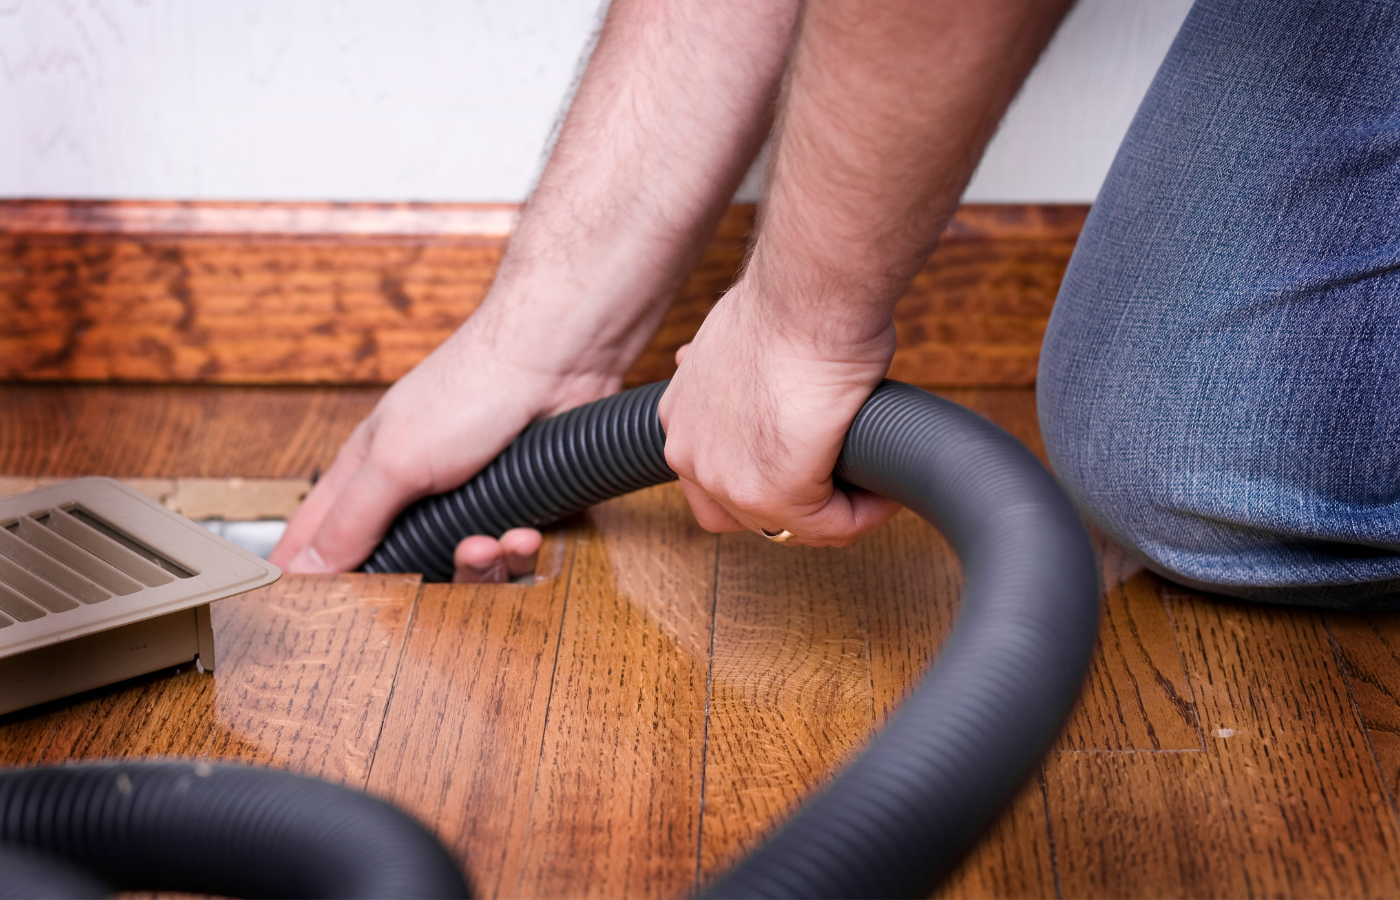
Clean Out Vents
Dust, debris and other irritants can build up in vents overtime. Before installing your new cover use the hose of your vacuum to reach as far into the vent as possible. This cleaning process is especially beneficial if you have allergies (you might want to wear a mask while sucking up allergens).
Insert Plastic Screw Anchors
Using the existing holes in the new vent, insert screw anchors, if needed.
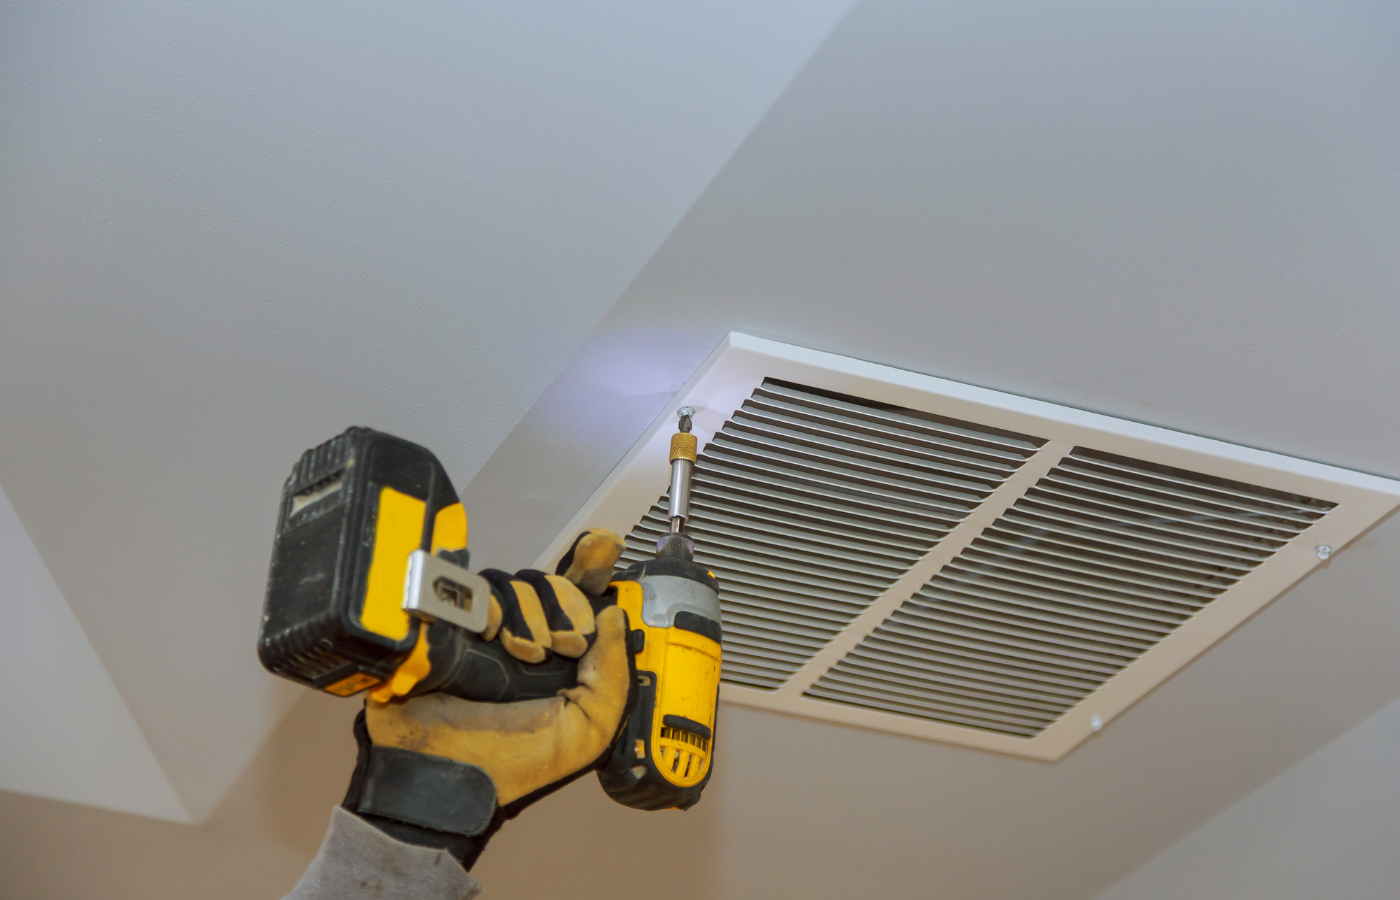
Installation
Install your new vent cover and screw in tightly to ensure it will not fall off or become loose over time. This may require some adjustments to ensure the cover is straight and flush with the floor, wall or ceiling.
If you know someone who could benefit from this blog, please share it.
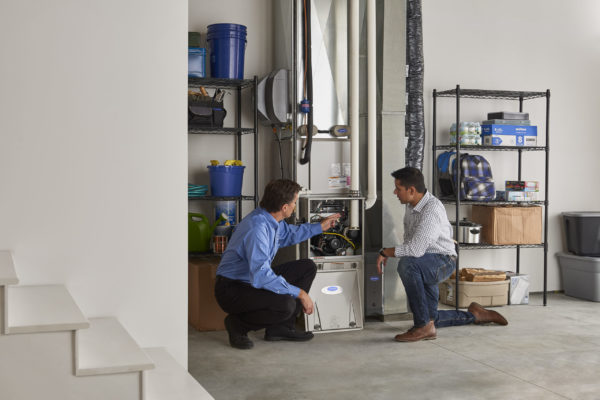
If your question still needs answering or you’d like to schedule a consultation, contact the friendly team at Genove Oil & Air, and we’ll help you find the right solution for your home or business.
Whether you need home heating oil or Bioheat delivery, or installation and service of oil & natural gas systems for HVAC, heating, and cooling—call us at 781-893-9191 or email us.